From Garage to Greenery: A DIY Guide to Crafting Raised Garden Beds for Indoor Gardening Bliss
Have you ever dreamed of having a garden, but don’t have the outdoor space to make it a reality? Or maybe you live in a climate that isn’t ideal for growing plants all year round. Whatever the reason, creating a garden in your garage using raised garden beds is a fantastic solution. With a little planning and preparation, you can transform your garage into a thriving garden oasis that offers easy access and protection from the elements.
In this article, we provide a comprehensive, step-by-step guide to building DIY raised garden beds in your garage. From planning and preparation to building the beds, preparing the soil and planting, we will cover everything you need to know to create a thriving garden in your garage. We also give tips on caring for your garden and dealing with pests and diseases, so you can enjoy fresh produce all year round. Whether you’re an experienced gardener or a beginner, this article will give you all the information you need to get started on your DIY raised garden bed project.
Benefits of a Garage Garden
There are many benefits to having a garden in your garage, including:
Easy access – Having a garden in your garage means you don’t have to worry about going outside in bad weather to tend to your plants. This makes it easier to maintain your garden and ensures that you’ll enjoy fresh produce all year round.
Protection from the elements – If you have a garden in your garage, you can protect your plants from extreme weather conditions such as heat waves, frost and heavy rain. This means your plants are less likely to be damaged or die, which will ultimately result in a better crop.
Controlled environment – A garage garden gives you more control over the environment in which your plants grow. You can adjust the temperature, humidity and lighting to create the ideal growing conditions for your plants.
Better pest control – If you have a garden in your garage, you’re less likely to have problems with pests and diseases. This is because the enclosed space makes it harder for insects and other pests to get in, and you can control the environment to minimise the risk of disease.
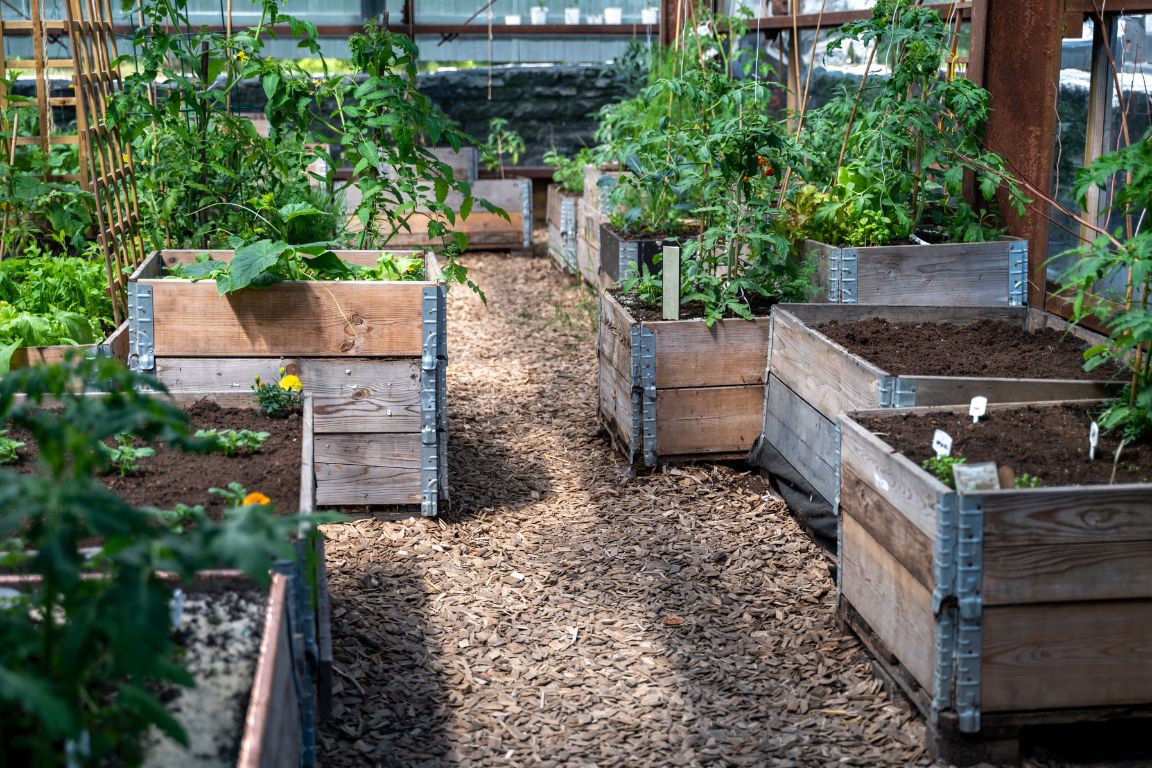
Creating a garden in your garage using raised beds is an excellent way to grow fresh produce all year round, with the added benefits of easy access, protection from the elements and greater control over the environment in which your plants grow.
Choosing a Location
Choosing the right location for your garage raised garden beds is crucial to the success of your garden. Some factors to consider when choosing a location include:
Space – The first thing to consider is how much space you have in your garage. Make sure you choose a location that allows enough room for the garden beds, as well as easy access for you to maintain your plants.
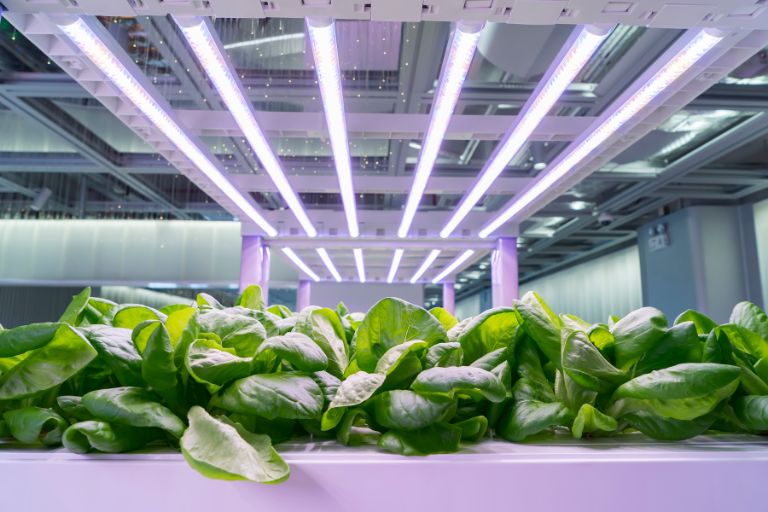
Lighting – The next factor to consider is lighting. You’ll need to choose a location that gets enough natural light for your plants to thrive. If your garage doesn’t get enough natural light, you may need to supplement it with artificial lighting.
Temperature – Another factor to consider is the temperature in your greenhouse. You’ll want to choose a location that’s not too cold or too hot, as extreme temperatures can damage your plants.
Ventilation – Good ventilation is also important for the health of your plants. Make sure the location you choose has good air circulation to prevent stagnant air and promote healthy growth.
Water source – Finally, consider the proximity of a water source. You’ll want to choose a location that’s close to a water source, such as a hose or sink, for easy watering.
Take these factors into account and you can choose the best location for your raised garden beds in the garage, giving your plants the best possible growing conditions.
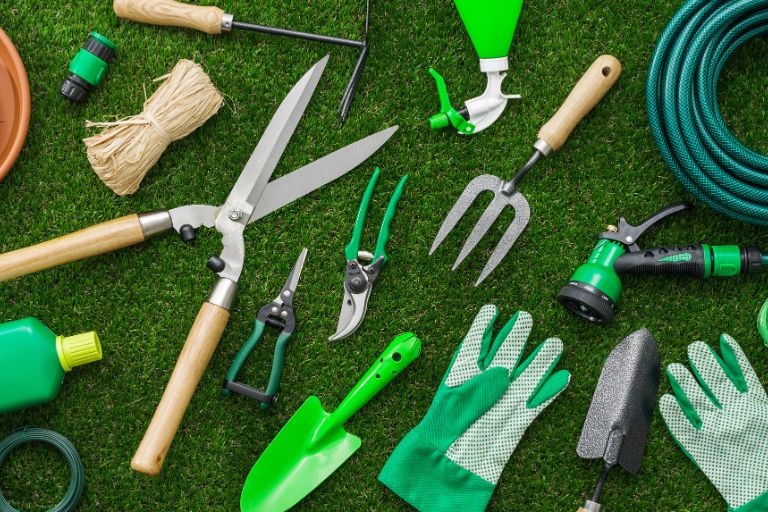
Materials Required
To make raised garden beds in your garage, you’ll need the following materials:
Wood – You’ll need wood to build the frames for your garden beds. Choose untreated wood, such as cedar or redwood, to avoid exposing your plants to harmful chemicals. You’ll need 2x4s or 2x6s, depending on the size of your bed.
Screws – You’ll need screws to assemble the pieces of wood into a frame. Choose rustproof screws that are at least 2.5 inches long.
Hardware cloth – You’ll need hardware cloth to line the bottom of the garden bed to prevent pests from entering through the bottom. Use 1/4-inch mesh hardware cloth.
Landscape fabric – You’ll need landscape fabric to line the sides of the bed to prevent soil from falling through the gaps. Choose a heavy-duty landscape fabric that can withstand the weight of the soil.
Soil – You’ll need a good quality soil mix that is rich in nutrients and drains well.
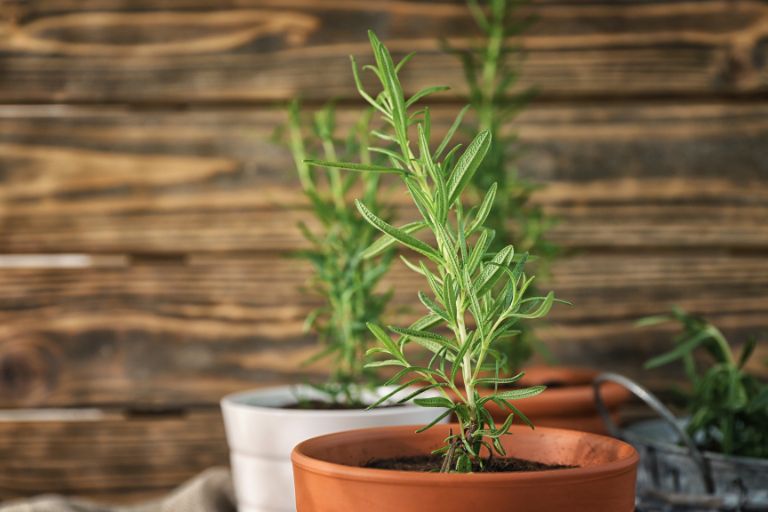
Plants – Finally, you’ll need plants to grow in your garden bed. Choose plants that are suited to the growing conditions in your garage, such as herbs, leafy greens and root vegetables.
You can buy these materials from a variety of sources, including DIY stores, garden centres and online retailers. Be sure to compare prices and quality to find the best deals on the materials you need. Also, consider using reclaimed or reused materials to save money and reduce waste.
Planning
Before you start building your raised garden beds in your garage, you need to measure and mark out the area where you want to place them. Here’s how to do it:
Determine the size – Decide how big you want your garden beds to be. Consider the space available in your garage and the number of plants you want to grow. Common sizes for raised garden beds are 4×4 feet, 4×8 feet or 2×8 feet.
Mark the area – Use a tape measure to mark the area where you want to place your garden beds. Start by measuring and marking the corners of the bed with a pencil. Then connect the corners with a chalk line or string to create straight lines.
Check the level – Use a carpenter’s level to check that the marked area is level. If it’s not, you’ll need to adjust the floor or build up one side with extra wood to create a level surface.
Make adjustments – If necessary, make any adjustments to the marked area before proceeding to the next step.
Lay the hardware cloth – Once the area is level, lay the hardware cloth on the ground within the marked area. Cut the hardware cloth to size using wire cutters or heavy duty scissors. Make sure it covers the entire bottom of the bed.
Following these steps and you can measure and mark out the area for your raised garden beds in your garage, ensuring a stable and level surface for your plants to grow on.
Step-By-Step Instructions
Here are step-by-step instructions for building your own raised garden beds in your garage:
Choose the right wood – Choose untreated wood, such as cedar or redwood, to avoid exposing your plants to harmful chemicals. You’ll need 2x4s or 2x6s, depending on the size of your bed.
Cut the wood to size – Measure and cut the wood to the length and width you want for your bed. For example, if you want a 4×4 bed, cut four pieces of lumber to 4 feet long and four pieces of lumber to 4 feet 2 inches long (to allow for the width of the lumber).
Assemble the bed frame – Take two of the shorter and two of the longer pieces of wood and assemble them into a rectangular frame, with the shorter pieces on the inside and the longer pieces on the outside. Use stainless steel screws that are at least 2.5 inches long to fasten the pieces together.
Reinforce the corners – Reinforce the corners of the frame by attaching L-brackets or corner braces. This will provide extra stability and prevent the frame from shifting or warping over time.
Line the sides with landscape fabric – Once the frame is assembled, line the sides of the bed with landscape fabric. Use a heavy-duty landscape fabric that can withstand the weight of the soil.
Line the bottom with hardware cloth – Lay hardware cloth over the bottom of the bed to prevent pests from entering through the bottom. Use 1/4 inch mesh hardware cloth.
Fill with soil – Fill the bed with a good quality, nutrient-rich, well-draining potting mix. Leave a few inches at the top to allow for watering.
Plant your garden – Once the soil is in place, you are ready to plant your garden. Choose plants that are suited to the growing conditions in your garage, such as herbs, leafy greens and root vegetables.
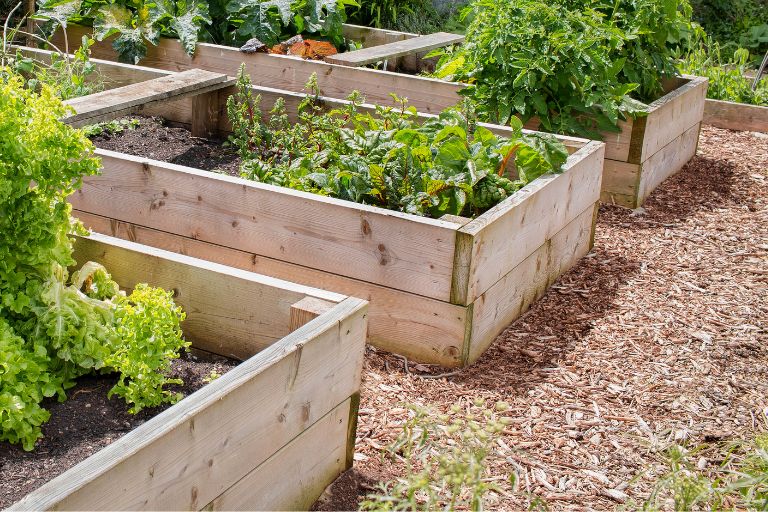
Follow these steps and you can create your own raised garden beds in your garage, providing a protected environment for your plants to grow and thrive.
Protect Your Garden Bed
To protect the wood and ensure proper drainage of your raised garden beds, you’ll need to line the inside of the bed with landscape fabric and hardware cloth. Here’s how to do it:
Line the sides with landscape fabric – Cut a piece of landscape fabric to fit the length and height of the inside of the bed. The fabric should be long enough to cover the sides of the bed and extend a few inches over the top. Staple or tack the fabric to the inside of the bed frame, making sure it’s taut and covers the entire area.
Line the bottom with hardware cloth – Cut a piece of 1/4-inch mesh hardware cloth to fit the bottom of the bed frame. This will allow proper drainage and prevent pests from entering through the bottom. Lay the hardware cloth over the landscape fabric and staple it to the bottom of the bed frame.
Add soil and plants – Once the bed is lined, add a layer of good quality potting mix and plant your chosen plants. Be sure to water the plants regularly and provide them with the necessary nutrients to ensure healthy growth.
By lining the inside of the bed with landscape fabric and hardware cloth, you can protect the wood from moisture damage and ensure proper drainage for your plants. This will help your raised garden beds in your garage last longer and provide a healthy growing environment for your plants.
Adding Legs
Adding legs to your raised garden beds can make them more accessible and easier to work with. Some tips on how to add legs to your raised garden beds include:
Choose the right leg material – Choose sturdy, weather-resistant materials for your legs. Cedar or pressure-treated wood are good options that will resist moisture and rot.
Choose the right leg height – Determine the appropriate height for your legs based on your own height and the level of access you want to your garden beds. A height of around 24-30 inches is generally comfortable for most people.
Fasten the legs to the bed frame – Cut four pieces of wood to the appropriate length for your legs and attach them to each corner of the bed frame. Use bolts, screws or brackets to secure the legs to the bed frame.
Add extra support – For extra stability, you can add diagonal braces between the legs and the bed frame. This will help distribute the weight of the soil and plants evenly across the legs.
Level the legs – Use a spirit level to make sure the legs are level and even. If the legs are uneven, the bed will be unstable and could tip over.
By adding legs to your raised garden beds, you can make them more accessible and easier to work with. This can make a big difference, especially if you have back problems or find it difficult to bend down for long periods of time. Follow these tips and you can add legs to your raised garden beds in your garage and create a comfortable and convenient growing space for your plants.
Choosing the Right Soil
Choosing the right soil for your garden is essential to ensure your plants thrive. There are many different types of soil available and the right choice will depend on the type of plants you’re growing and the specific conditions in your garden. Some of the different types of soil to consider are:
Topsoil – A mixture of sand, silt and clay, topsoil is the most common type of soil used in gardening. It’s often mixed with compost or other organic matter to improve its nutritional value.
Potting soil – Potting soil is a light and well-draining soil mix that’s specially designed for container gardening. It’s usually made up of peat moss, perlite and vermiculite.
Compost – Compost is a nutrient-rich soil amendment made from decomposed organic matter. It’s a great addition to garden soil as it can help improve soil structure, fertility and water retention.
Garden Soil Mix – Garden soil mix is a premixed blend of topsoil, compost and other organic matter. It’s designed to provide a nutrient-rich growing medium that’s ideal for vegetable and flower gardens.
When choosing soil for your garden, think about the specific needs of the plants you’re growing. For example, if you’re growing vegetables, you’ll want a soil mix that’s rich in nutrients and well-drained. If you’re growing succulents or other plants that require excellent drainage, you’ll want a potting mix that contains sand or perlite to improve drainage.
It’s also important to consider the pH of your soil. Most plants prefer a slightly acidic soil with a pH between 6.0 and 7.0. You can buy soil pH test kits from your local garden centre or online to test the pH of your soil.
Choosing the right soil is essential for a successful garage garden. Take the time to consider your specific needs and the needs of your plants and choose a soil mix that will provide the best growing conditions for your garden.
Fill the Garden Beds
Preparing the soil and filling your raised garden beds properly is key to ensuring your plants grow healthy and strong. Here are the steps to preparing your soil and filling your beds:
Clear the area – Before you start filling your garden beds, you’ll need to clear the area of any debris or plants. Remove any rocks, weeds or other debris from the area.
Add a layer of gravel – Adding a layer of gravel to the bottom of your garden beds can improve drainage and prevent the soil from compacting over time. Spread a layer of gravel about 2-3 inches deep at the bottom of each bed.
Add organic matter – Add a layer of compost, well-rotted manure or other organic matter on top of the gravel. This will provide nutrients for the plants and help improve soil structure.
Mix in soil – Fill the rest of the garden bed with a good quality garden soil mix or a mixture of topsoil and compost. Mix the soil and organic matter thoroughly.
Level the soil – Use a garden rake or hoe to level the soil in your garden bed. Make sure the soil is evenly distributed and level throughout the bed.
Water the soil – Water the soil in your garden bed thoroughly, making sure the water penetrates to the bottom of the bed.
Follow these steps and you’ll have a well-prepared soil bed ready for planting. Make sure you choose the right soil and organic matter for your plants and mix them thoroughly to ensure your plants have everything they need to grow and thrive.
Common Tips
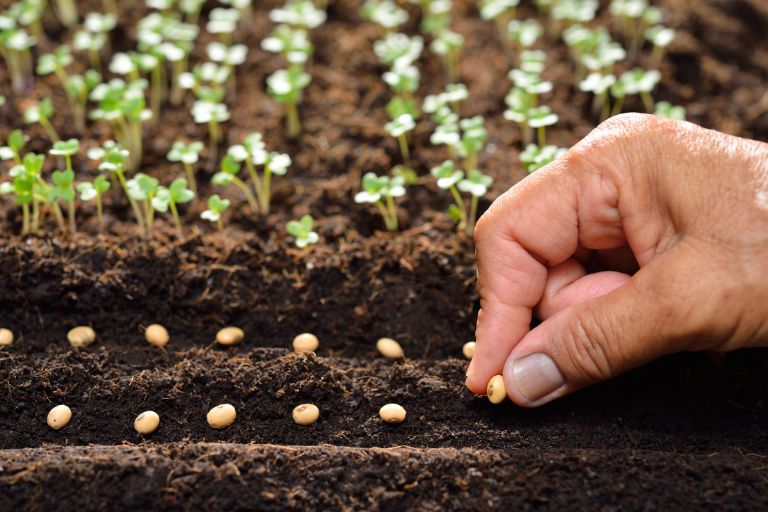
Planting seeds and seedlings in your raised garden beds is the next step in creating your garage garden. Some tips to help your plants grow healthy and strong include:
Spacing – It’s important to space your plants properly to allow for adequate growth and to prevent overcrowding. Follow the spacing recommendations on the seed packets or plant labels. As a general rule, most plants should be spaced 6-12 inches apart.
Planting depth – Plant seeds at the appropriate depth as indicated on the seed packet. As a general rule, seeds should be planted two to three times their diameter. For seedlings, plant at the same depth as they were in their previous container.
Watering – Water your seeds and seedlings immediately after planting to help the soil settle and ensure good contact between the roots and the soil. Water your plants regularly, keeping the soil just moist but not soggy. It’s generally best to water in the early morning or late evening to minimise evaporation.
Fertilise – Most plants benefit from fertiliser to encourage healthy growth. Consider adding a slow-release fertiliser to your soil or using a liquid fertiliser every two to four weeks, depending on the specific needs of your plants.
Mulch – Adding a layer of mulch to the surface of your soil can help retain moisture, suppress weeds and regulate soil temperature. Use a natural mulch such as straw or shredded leaves and apply to a depth of 2-3 inches.
Sunlight – Make sure your plants get enough sunlight to meet their specific needs. Most vegetables and herbs need at least six hours of direct sunlight a day.
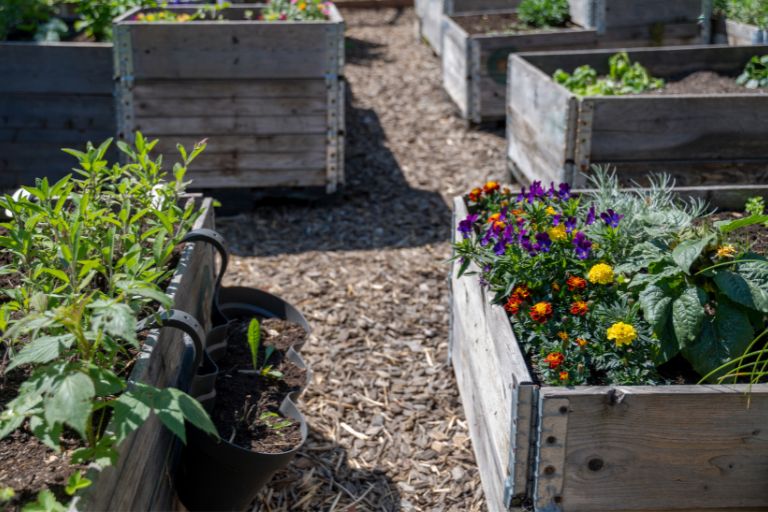
Follow these tips and you’ll be well on your way to creating a thriving garage garden. Remember to check your plants regularly for signs of pests or disease and adjust your watering and fertilising as necessary. With a little patience and care, you’ll soon be enjoying a lavish harvest from your DIY raised garden beds.
Maintenance
Maintaining your garden is essential to keeping your plants healthy and productive. Some tips on how to maintain your garden in your garage include:
Watering – Plants in raised beds may need to be watered more often than plants in traditional soil gardens. Water your plants deeply, making sure the soil is moist but not soggy. Check the soil regularly to make sure it stays moist, especially in hot or dry weather.
Fertilise – Most plants benefit from regular fertilisation to encourage healthy growth and fruit production. Use a slow-release or liquid fertiliser every two to four weeks, following the manufacturer’s instructions. Be careful not to over-fertilise as this can damage your plants.
Prune – Pruning your plants can help promote healthy growth and improve fruit production. Remove dead or diseased leaves and stems, and cut back any branches that are crowding or rubbing against other branches. Prune back herbs regularly to encourage bushier growth.
Pest control – Keep an eye out for pests and diseases and take action at the first sign. Use natural pest control methods whenever possible, such as insecticidal soap or neem oil.
Harvest – Harvest your plants regularly to encourage continued fruit production. Use sharp scissors or pruning shears to avoid damaging the plant, and pick fruit and vegetables when they are ripe.
Winterising – If you live in a cold climate, you may need to take steps to winterise your garage garden. Cover your garden beds with a layer of mulch to insulate the soil and protect the roots of your plants. You may also need to bring some of your potted plants inside for the winter.
Dealing with Pests and Diseases
Managing pests and diseases is an essential part of maintaining a healthy garden. Some common tips for dealing with common pests and diseases in your garage garden are:
Identifying the problem – The first step in managing pests and diseases is to identify the problem. Look for signs of damage such as chewed leaves, yellowing foliage or wilting plants. Use a magnifying glass to check leaves and stems for insects, eggs or larvae.
Use natural pest control – Whenever possible, use natural pest control methods to avoid the use of harsh chemicals. For example, you can use insecticidal soap or neem oil to control aphids, spider mites and other common pests. You can also use companion planting to repel pests and attract beneficial insects.
Practice good hygiene – Good hygiene is essential to prevent the spread of disease. Keep your garden beds clean and free of debris and dispose of any infected or diseased plant material. Wash your hands and tools regularly to avoid spreading disease from one plant to another.
Rotate your crops – Crop rotation can help prevent pests and diseases from building up in the soil. Rotate your crops each year by planting different types of plants in different areas of your garden.
Use organic fungicides – If you have a fungal disease in your garden, use an organic fungicide to control the problem. Copper fungicides are effective against many common fungal diseases, including powdery mildew and leaf spot.
Consider using physical barriers – If you have a problem with insects or small animals, consider using physical barriers to protect your crops. For example, you can use row covers to protect your plants from insects or netting to keep birds and squirrels away from your fruit.
Harvesting Crops
Harvesting is the most exciting part of gardening. Some tips for harvesting and enjoying the fruits of your labour include:
Harvesting at the right time – Each crop has its own ideal harvest time. For example, tomatoes should be picked when they are fully ripe and bright red. Leafy greens, on the other hand, should be harvested when they are young and tender.
Use the right tools – Use the right tools for each crop to avoid damaging the plant or fruit. For example, use scissors for herbs and vegetables and a sharp knife for fruit.
Store your crop properly – Store your crops in a cool, dry place to keep them fresh longer. Some crops, such as onions and potatoes, can last for several months if stored properly.
Preserve your harvest – If you have a large crop or want to save some for later, consider preserving your harvest. You can freeze or preserve fruit and vegetables, make jams and jellies, or dry herbs and spices.
Enjoy your harvest – The best part of gardening is enjoying the delicious fruits and vegetables you grow. Use your fresh produce in your favourite recipes, share it with friends and family, or donate it to a local food bank.
Remember that gardening is an ongoing process, so be sure to plan for the next growing season and start the process all over again.
Summary
In summary, here are the benefits of a raised garden in your garage:
Easy access – Having a garden in your garage gives you easy access to your plants, especially in bad weather.
Protection from the elements – The controlled environment of a garage provides protection from extreme temperatures, wind and rain, which can help plants grow better.
Optimise space – Raised garden beds take up less space and are easier to manage than traditional gardens, making them ideal for small spaces.
Customisable – With a raised garden in your garage, you can customise the soil, fertiliser and growing conditions to suit the needs of your plants.
Health benefits – Gardening is an excellent way to stay active and reduce stress, which can have a positive effect on your physical and mental health.
Overall, a raised garden in your garage can be a rewarding and convenient way to grow your own fresh produce, enjoy the benefits of gardening and improve your overall health and well-being.
Building a raised garden in your garage can be a fun and rewarding experience, allowing you to grow your own fresh produce and enjoy the many benefits of gardening. Whether you are an experienced gardener or just starting out, building your own garden beds is a great way to optimise your space, protect your plants from the elements and customise your growing conditions.
The step-by-step instructions in this article will give you all the information you need to start building your own raised garden beds in your garage. So why not give it a try? You’ll be amazed at how easy and rewarding it can be to grow your own fresh produce right in your own home.
Remember that gardening is an ongoing process that takes time, patience and care. With the right tools, knowledge and care, you can create a thriving garden that will provide you with fresh, healthy produce for years to come. So roll up your sleeves, grab your tools and get ready to build your own raised garden beds in your garage!