Earthworm Elegance: A Complete Guide to Vermicomposting in Your Garage
Vermicomposting is a fantastic way to turn organic waste into nutrient-rich compost that can be used to fertilise plants and gardens. While traditionally done outdoors, vermicomposting can be done in the comfort of your own home, particularly in your garage. By setting up a worm bin in your garage, you can turn your kitchen scraps and garden waste into a valuable resource for your garden. As well as being environmentally friendly, vermicomposting saves money on fertiliser and reduces the amount of waste going to landfill. In this article, we will take you through the steps of starting a vermicomposting system in your garage, from setting up the worm bin to harvesting the compost.
Introduction to Vermicomposting
Vermicomposting is a process of composting organic waste using worms to break down the material into nutrient-rich soil. The process involves placing worms and organic waste in a container, such as a worm bin, where the worms consume the waste and break it down into nutrient-rich castings, or worm castings. Vermicomposting has several benefits, some of which include:
Reduce food waste – Vermicomposting provides an opportunity to reduce food waste, which is a significant contributor to landfill waste. By composting food waste with worms, you can divert waste from landfills and turn it into a valuable resource.
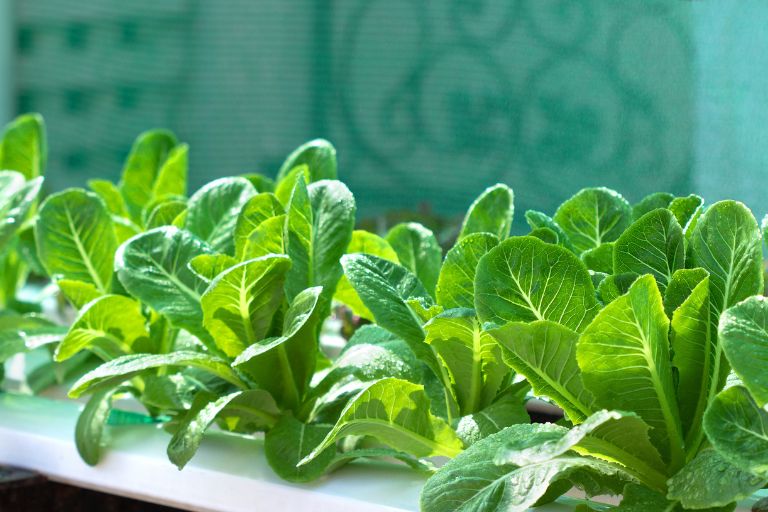
Produces nutrient-rich soil – Vermicomposting produces nutrient-rich soil that can be used to fertilise gardens and potted plants. Compost produced by worms is rich in nitrogen, phosphorus and potassium, which are essential nutrients for plant growth.
Improve soil structure – Vermicompost helps improve soil structure by increasing its ability to hold moisture, improving drainage and aerating the soil. This creates an ideal environment for plant roots to grow and absorb nutrients.
Supporting sustainability – Vermicomposting is an environmentally friendly practice that supports sustainability by reducing waste and providing a natural alternative to chemical fertilisers.
Vermicomposting is a sustainable and effective way to reduce food waste, create nutrient-rich soil and support sustainable gardening practices.
Equipment Needed
To start vermicomposting in your garage, you will need several pieces of equipment, including:
Worm bin – A worm bin is a container that holds the worms and organic waste. You can buy a worm bin or make your own from a plastic or wooden container.
Bedding material – Bedding provides a home for the worms and helps to regulate moisture in the bin. Common bedding materials include shredded newspaper, cardboard, coconut coir or dried leaves.
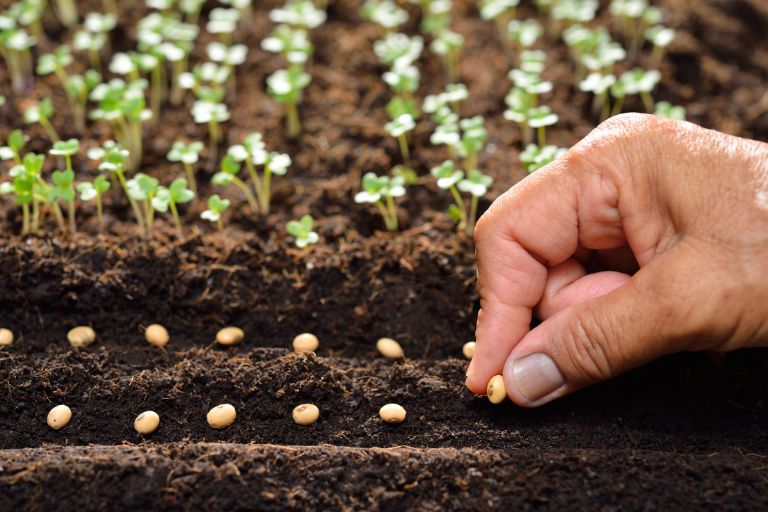
Food scraps – Food scraps are the organic material that the worms will eat. You can use fruit and vegetable waste, coffee grounds, egg shells and other organic material.
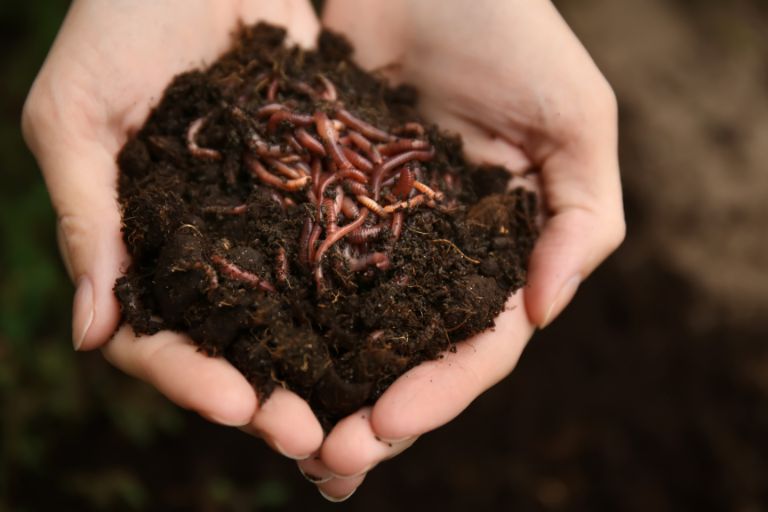
Worms – Red wigglers are the most commonly used worms for vermicomposting. You can buy worms online or at your local bait shop or garden centre.
Optional equipment – Depending on your situation, you may also need a lid for the bin to keep pests out, a tray to collect excess moisture and a tool to stir the compost.
Setting up the Worm Bin
Setting up a worm bin in your garage is a straightforward process that can be completed in a few simple steps. Below is a step-by-step guide to setting up a worm bin:
Choose a location in your garage that is cool, dry and out of direct sunlight. A temperature range of 50 to 80 degrees Fahrenheit is ideal for worms, so avoid areas that are too hot or too cold.
Add bedding material to the bottom of the worm bin. The bedding provides a home for the worms and helps to regulate moisture in the bin. Shredded newspaper, cardboard, coco coir or dried leaves make excellent bedding. Moisten the bedding with water until it is damp but not soaking wet.
Add the worms to the bin, spreading them evenly over the bedding. Red wigglers are the most commonly used worms for vermicomposting. Start with 1/2 to 1 pound of worms per square foot of bin space.
Place food scraps in the bin and cover with a layer of bedding material. Be careful not to add too much food at one time as this can cause the bin to become too acidic or wet. A general rule of thumb is to add food scraps at a ratio of 1:2 (food scraps to bedding).
Maintain the worm bin by regularly adding food scraps and keeping the bedding moist. Avoid adding milk, meat or oily foods to the bin as these can attract pests and cause odours. Stir the compost regularly to aerate it and prevent it from becoming too compact.
Follow these simple steps and you can set up a successful vermicomposting system in your garage and turn your food scraps into nutrient-rich compost. Remember to check the bin regularly and adjust the bedding and food scraps as needed to maintain the optimal environment for your worms.
Maintaining the Worm Bin
Maintaining a worm bin is essential to keeping your vermicomposting system healthy and productive. Some important steps for maintaining your worm bin include:
Feeding the worms – Feed the worms regularly by adding small amounts of leftover food to the bin. Avoid adding too much food at once as this can cause the bin to become too acidic or wet. A general rule of thumb is to add food scraps at a ratio of 1:2 (food scraps to bedding).
Keeping the bin moist – Worms need a moist environment to survive, so it is important to keep the bedding in the bin moist but not soaking wet. Check the moisture level of the bedding regularly and add water if necessary. If the bedding is too wet, add more dry bedding to absorb the excess moisture.
Troubleshooting common problems – If you notice any problems with your worm bin, such as a foul odour, fruit flies or worms trying to escape, take steps to rectify the problem.
Some common problems and their solutions are:
Foul odour – A foul odour can indicate that the tray is too wet or contains too much food. To correct this, add dry litter to absorb excess moisture and reduce the amount of food you put in the tray.
Fruit flies – Fruit flies can be a problem if you add too much fruit or do not bury food scraps deep enough in the bedding. To prevent fruit flies, bury food scraps in the bedding and avoid adding too much fruit.
Worms trying to escape – If the worms are trying to escape the bin, this may indicate that the environment is too wet, too dry or too acidic. Check the moisture level of the bedding and adjust if necessary. You can also add crushed eggshells or limestone to the bin to help balance the pH.
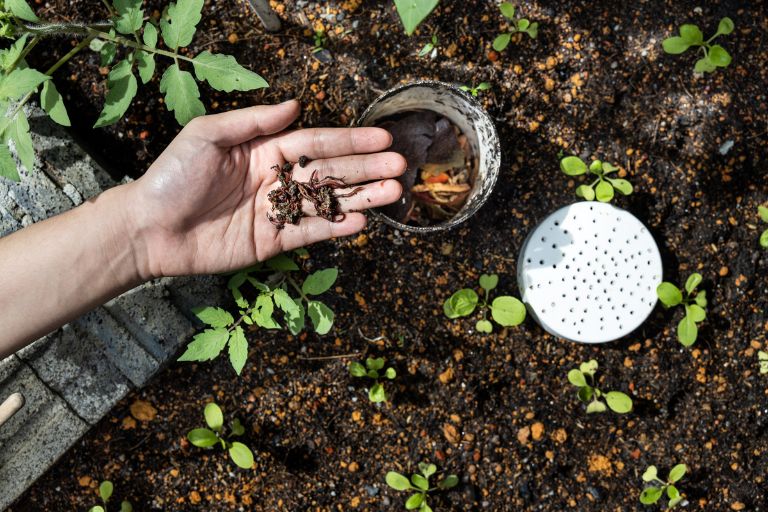
Harvesting the compost – Harvest the compost from the bin every few months by separating the worms from the compost. You can do this by placing a fresh bin of bedding on top of the compost and adding food scraps to the top. The worms will migrate to the top bin, leaving the compost behind. You can then remove the compost and use it to feed your plants.
Follow these maintenance tips and you can keep your worm bin healthy and productive, producing nutrient-rich compost for your plants while reducing food waste.
Harvesting the Compost
Harvesting the compost from your worm bin is an important step in the vermicomposting process. Below are step-by-step instructions on how to harvest the compost and store it for future use:
Stop feeding the worms – Stop adding food scraps to the worm bin for a few days before harvesting. This will encourage the worms to migrate to the top of the bin, making them easier to separate from the compost.
Separate the worms from the compost – There are several methods of separating the worms from the compost, but one of the most effective is the “light method”. To use this method, place a bright light over the compost and wait for the worms to move away from the light and towards the bottom of the bin. After a few minutes you can remove the top layer of compost, which should contain mostly finished compost with few or no worms. Repeat this process until you have removed all the compost from the bin.
Store the compost – Once you have separated the worms from the compost, store the finished compost in a container with a lid. You can use the compost immediately or store it for later use. Store the compost in a cool, dry place out of direct sunlight.
Return the worms to the bin – After harvesting the compost, return the worms to the bin with fresh bedding. Add a small amount of food scraps to the bin to encourage the worms to start making new compost.
Follow these steps and you can harvest the compost from your worm bin and use it to fertilise your plants or garden. The finished compost will be rich in nutrients and full of beneficial micro-organisms to help your plants thrive.
Tips and Tricks
Here are some tips and tricks for successful vermicomposting:
Choose the right type of worms – Red worms, also known as red wigglers, are the best type of worm for vermicomposting. They are efficient composters and can eat up to half their weight in food waste each day. Avoid using earthworms as they are not as effective at composting and may not survive in a worm bin.
Avoid adding certain types of food scraps – Although worms can eat many types of food waste, there are some that should be avoided. Do not add meat, dairy products, oily or greasy foods or citrus fruits to the worm bin as they can attract pests, create odours and harm the worms. Also avoid adding large amounts of acidic foods such as tomatoes as they can make the bedding too acidic for the worms.
Use a balanced mix of bedding material – Bedding material provides a habitat for the worms and helps to maintain the correct moisture level in the bin. A good mix of bedding material includes shredded newspaper, cardboard, coconut coir and aged compost. Avoid materials such as sawdust or wood shavings as they may be too acidic or too dry for the worms.
Keep the worm bin in a suitable location – The worm bin should be kept in a cool, dark and well-ventilated place. Avoid placing the bin in direct sunlight or in a place that is too hot or too cold as this can harm the worms.
Monitor the moisture level of the bedding material – Worms need a moist environment to survive, so it is important to check the moisture level of the bedding regularly. The bedding should be moist but not soaking wet. If the bedding is too dry, add water. If it is too wet, add dry bedding to absorb excess moisture.
Garage vermicomposting is a simple and effective way to turn food waste into nutrient-rich compost for your garden or indoor plants. By following the steps to set up and maintain a worm bin, you can enjoy the many benefits of vermicomposting, including reducing waste, improving soil quality and promoting sustainable living. With a little effort and some basic knowledge, anyone can start vermicomposting in their garage and contribute to a healthier planet.
Vermicomposting in the garage is also an excellent way to reduce your carbon footprint. By composting your food waste instead of throwing it away, you can reduce the amount of waste that ends up in landfill. This in turn helps to reduce methane emissions and conserve natural resources. In addition, vermicomposting can help reduce the need for chemical fertilisers and pesticides, which can be harmful to the environment. With a little effort and some basic knowledge, anyone can start vermicomposting in their garage and enjoy the many benefits of this sustainable practice. So why not give it a try and see how easy it is to make a positive impact on the environment? Your garden and your conscience will thank you for it.